Subbase Mistakes That Ruin Your Driveway (And How to Avoid Them)
So, you hired a crew, picked out beautiful brick pavers, and waited eagerly for a complete transformation of your outdoor space. But six months later, you found yourself dealing with cracks, dips, and tiles that were wiggling like loose teeth.
What happened?
Well, in South Florida, the real culprit behind most driveway disasters isn’t the pavers. It’s what’s underneath them. A weak, unstable, or skipped subbase is the fastest way to ruin your investment.
That’s why the most important part of your driveway project happens before a single paver goes down.
In this article, we’ll take a look at the most common subbase mistakes, what materials actually hold up in Florida’s unique conditions, and why trusting experts like Perfect Pavers can save you time, money, and headaches down the road.
Why a Proper Base Makes or Breaks Your Paver Project
Many homeowners lay down pavers to make their yards look nice. And while that’s certainly a plus, it’s just as important to consider that you should be creating a durable surface that handles weight and water over time.
If you know anything about South Florida, you know that’s not easy.
We’re talking about:
Sandy, shifting soil that won’t hold weight without help
High humidity and heavy rains that erode soft ground
Extreme heat that causes expansion and contraction
If your paver base isn’t built to withstand all of that, you’re basically putting premium tiles on a Jell-O mold.
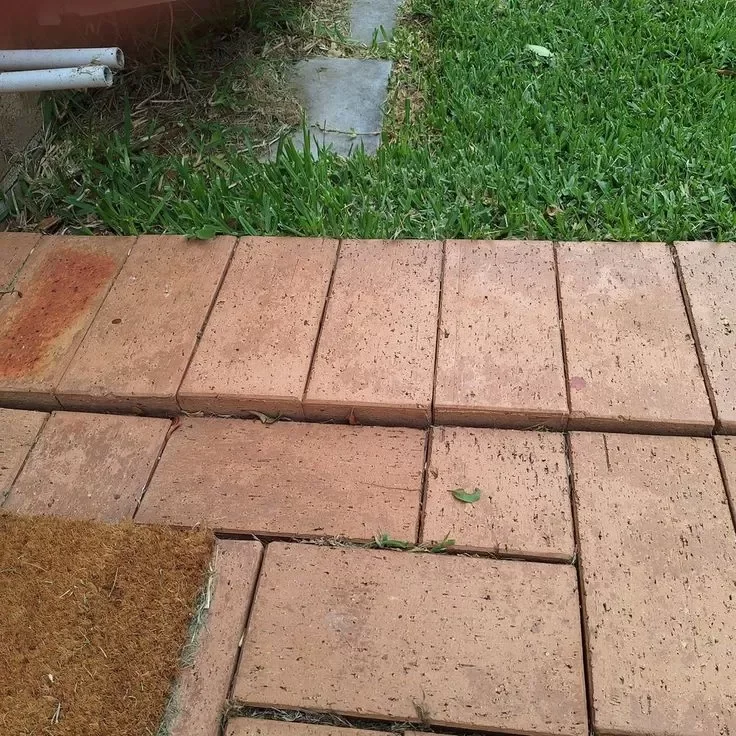
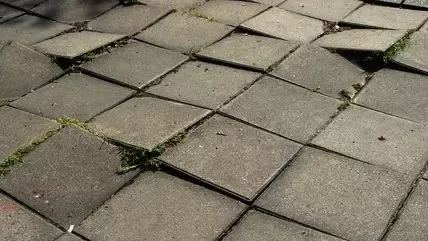
What Can Go Wrong (Fast)
Six months in: sinking, especially where vehicles park
One year in: pavers shift out of place
Two years in: water damage turns into mold, algae, and crumbling edges
Long term: repeated repairs start to add up to more than the original cost
Homeowners often try to save money by cutting corners on the base layer. But that’s like building a pool and skipping the waterproofing.
What Materials Work Best for Florida Walkway and Driveway Bases
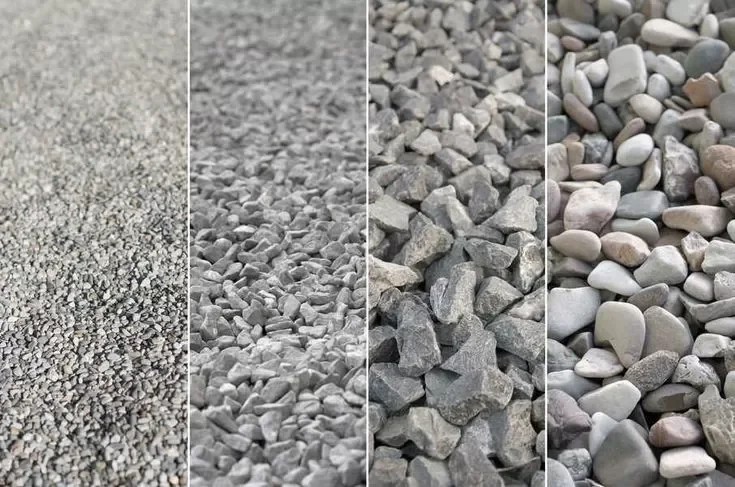
When it comes to what goes underneath your pavers, don’t let anyone tell you that one size fits all. Florida has some of the most unique climate conditions in the U.S., meaning some materials just don’t cut it.
Here’s a quick breakdown
Base Material |
Pros |
Cons |
Best For |
Crushed Stone |
Drains well, compacts tightly |
Needs leveling equipment |
Driveways and walkways |
Coquina Rock |
Natural and lightweight Florida material |
Not as strong under pressure |
Light-use paths |
Gravel |
Affordable and easy to shape |
Can shift without edging |
Garden walkways |
Sand Cushion (as top layer) |
Creates level bedding |
Doesn’t work alone as a base |
Final leveling layer |
Concrete Slab |
Seems solid at first |
Cracks, poor drainage, and no flexibility |
Avoid it entirely for pavers |
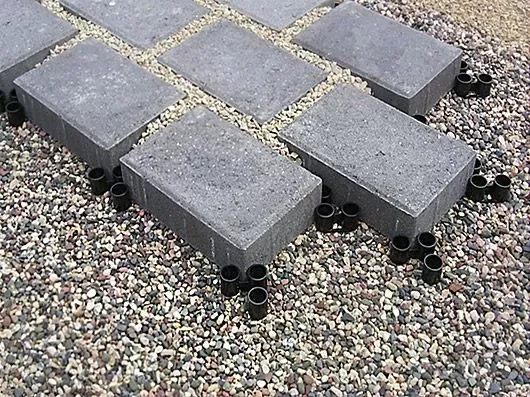
Pro tip: We cannot stress the importance of avoiding full concrete slabs under pavers enough. In Florida, they don’t allow water to drain properly, and they crack over time. Instead, we recommend opting for a flexible but stable system like crushed stone for base pavers.
Compacted layers, for example, can move slightly with the ground underneath them without breaking apart.
Step-by-Step: How Pros Prepare a Paver Base
DIY videos often make paver installation look easy. If you’re someone who does construction work around your house or takes on DIY projects often, you might be thinking, “Great. I’ll just pour some sand, lay the pavers, and boom.”
However, any professional will tell you that base prep is everything, and we’ve seen so many ardent DIYers make subbase mistakes.
Here’s how it’s done right
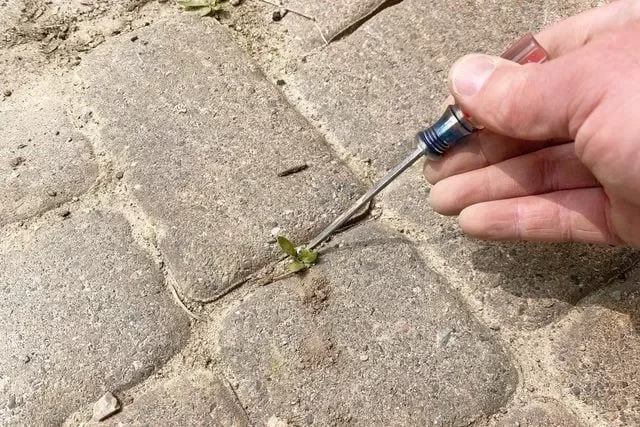
1. Clearing the Area
The first step is cleaning up the installation area. This includes getting rid of:
Old materials (asphalt, concrete, weeds)
The topsoil (too soft to support weight)
Any debris or roots that could create air pockets later
Doing this exposes the subgrade, the natural layer beneath the subbase. In South Florida, it’s often loose and sandy, so it has to be treated properly to keep it from shifting over time.
2. Excavating
Depending on your project (driveway vs. walkway), you or your contractor will have to dig down about 6–12 inches, which is enough to:
Lay the paving subbase (crushed stone or gravel)
Add a bedding layer of sand
Allow for thick pavers
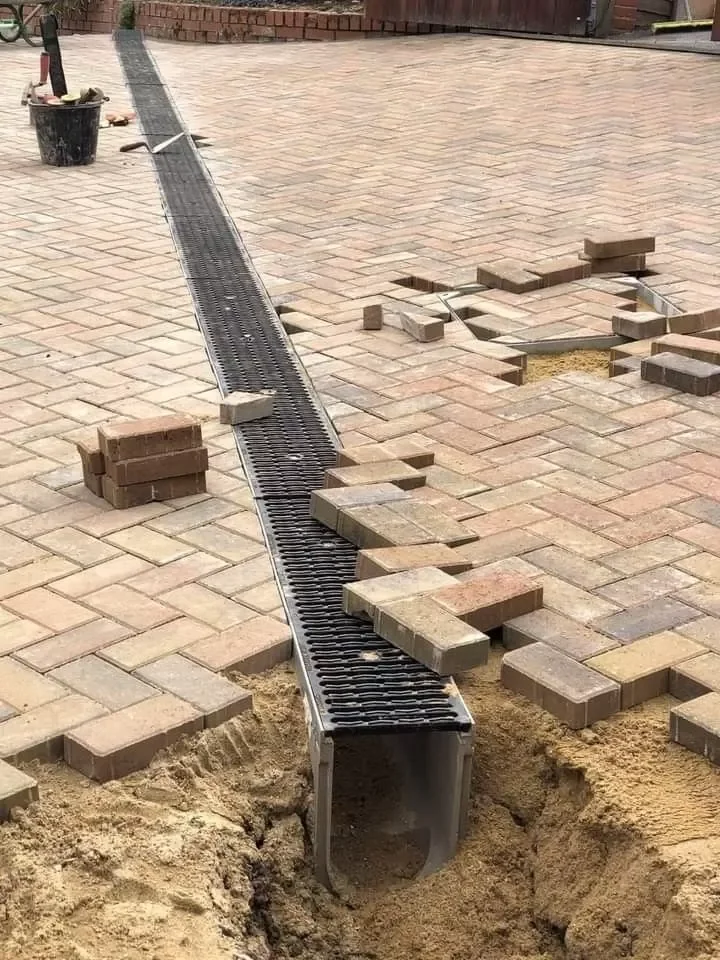
3. Grading for Drainage
Even the slightest slope (1/8 inch per foot) can help prevent water buildup. Without a slope, you can end up with puddles, mildew, and a slippery mess after rain
4. Layering and Compacting
Nine out of ten times, this is where we see things go wrong in DIY jobs.
A professional will
Add subbase in 2–3 inch lifts (layers)
Compact each layer with a plate compactor (a heavy vibrating machine)
Repeat until the desired height is reached
Proper soil compaction techniques can make all the difference. Without it, the base will settle after the pavers go in, and by then, it’s too late.
5. Adding the Bedding Layer
This is a single-inch layer of screeded sand. Think of it like leveling flour before you lay tile. With one-inch screed rails, the material can be spread out to create the final base for your pavers.
6. Edge Restraints
Lastly, we’ll add concrete edging to keep your pavers from "drifting" or spreading apart over time. They lock together like a puzzle to keep everything in place. Without them, pavers would continuously migrate outward, especially in high foot traffic areas.
Let the Experts Handle It
When you hire Perfect Pavers of South Florida, you get a team with decades of experience in paver base preparation and experts who know Florida’s climate and soil better than anything else.
We understand:
How to stabilize walkway foundations in coastal, sandy areas
The right paving material choices for erosion control
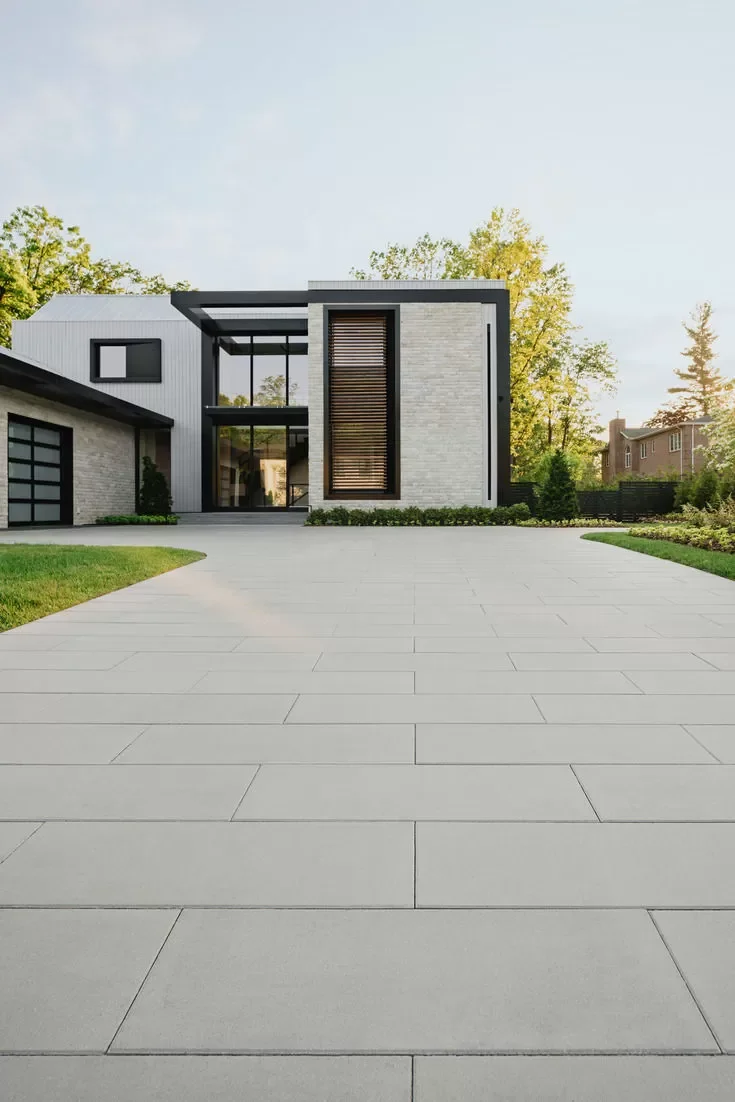
How to provide a durable brick paver driveway installation that lasts


A Strong Foundation is a Smart Investment
It doesn’t matter how beautiful your pavers are. If the foundation is weak, the whole thing will fall apart.
Florida’s weather and soil demand a smarter approach. And whether you're upgrading an old driveway or replacing those builder-grade tiles, the base needs to be treated with care. Not guessed. Not rushed. Not skipped. Those are the biggest subbase mistakes.
A proper subbase installation can protect your investment and keep your walkway or driveway looking and feeling solid for years.
Ready to get it right the first time?