
Pavers Ideas
Curved Paver Driveways: Plan the Border Before Installation
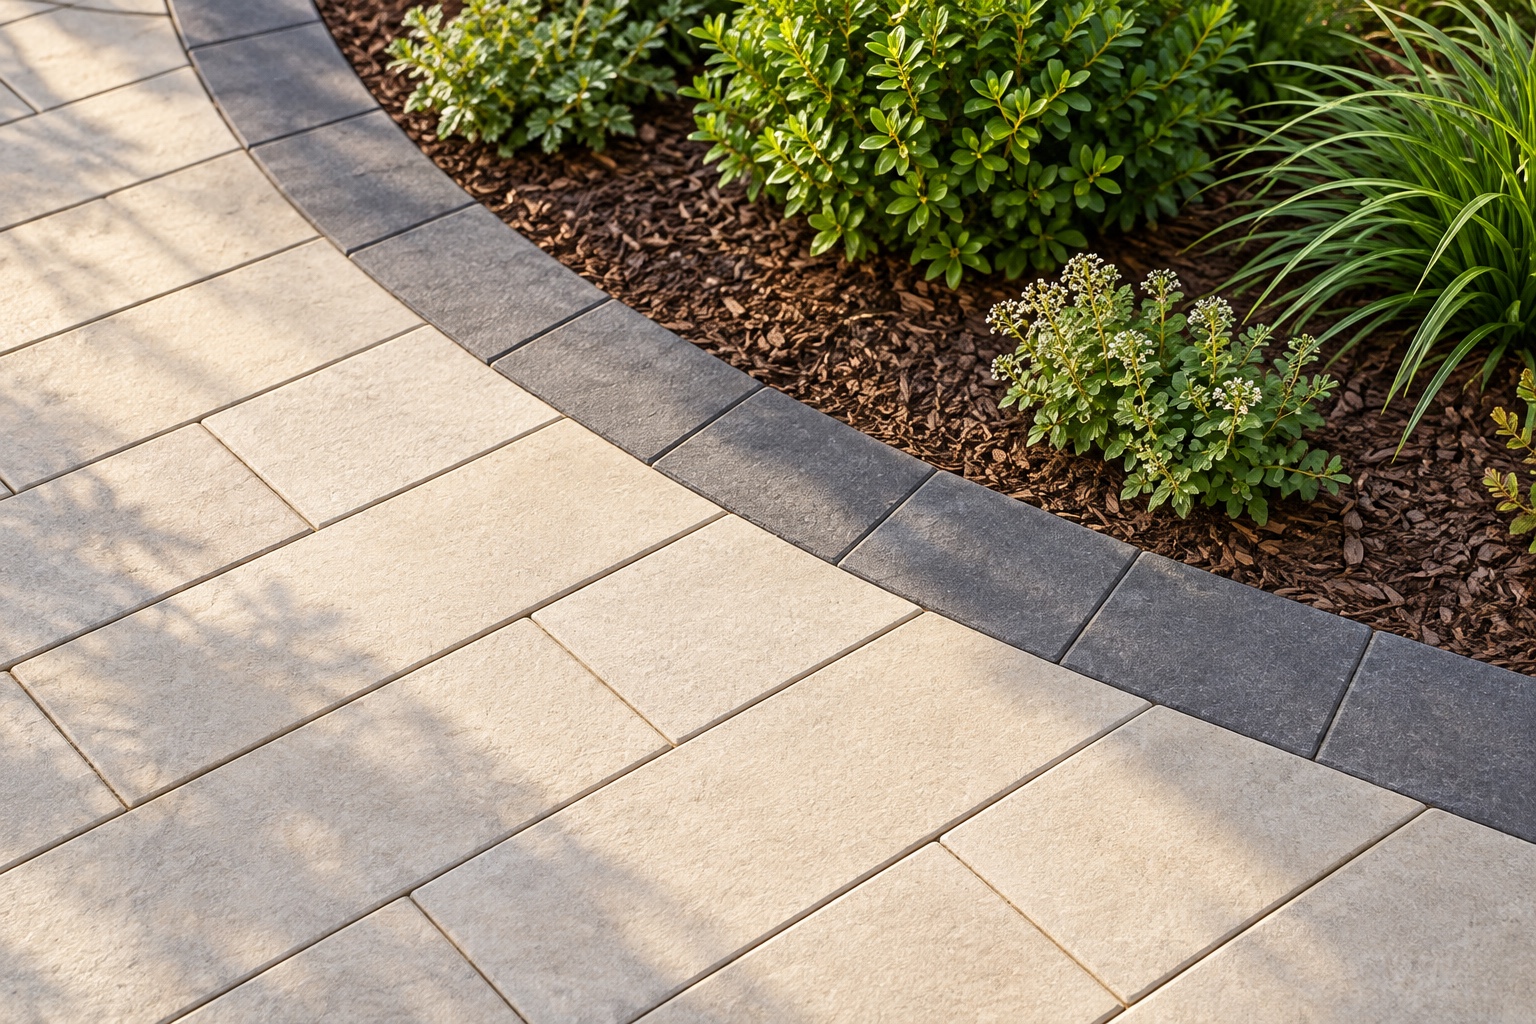
Before approving a curved paver driveway, review the border line, field pattern direction and proposed cuts together on a measured layout. Ask the contractor to show a representative sample at the tightest curve and explain the connections to straight garage and walkway edges. Record the chosen arrangement before installation, with unresolved support and site questions identified separately.
For a Broward home, that review belongs in the planning for driveway pavers installation. A color selection alone leaves the relationship between the curve and the surrounding surfaces undecided.
AI illustration of a curved driveway border concept, not a completed project or an installation detail.
Separate the visible border from its support
Start by identifying what you want to see: the border color, its apparent width, the orientation of its units and the line it draws around the driveway. Then ask the contractor to identify the supporting edge restraint on the proposed detail. Keep both items named in the discussion so that an attractive outline does not become the only thing being reviewed.
CMHA’s Edge Restraints for Interlocking Concrete Pavements explains that restraints resist sideways spreading. It describes cutting curved edges, placing a course of whole pavers between cut field units and the restraint, and shifting the pattern when needed to accommodate cuts. A decorative border alone does not establish the restraint design.
Have the installer explain how the proposed visible treatment relates to the support specified for your driveway. The homeowner’s aesthetic approval and the contractor’s technical assessment should remain identifiable decisions.
Review the tightest curve with the actual selections
Ask for the proposed border line to be shown at the site and on the layout drawing. Walk along it from the driveway entrance and look back from the house. Compare the outline with the planted bed you intend to keep. Point out any place where the curve looks abrupt or the border seems to wander away from the landscape.
Choose the tightest turn as the location for a representative sample arrangement. Ask the contractor to show the selected field units beside the selected border, including how proposed cut pieces would look there. A sample showing only a comfortable straight run leaves the difficult part of the decision open.
Review the sample at normal standing distance as well as close up. Look for a border line you can follow visually, a clear relationship between the field and border, and an arrangement you would accept beside the planting. Photograph the reviewed sample and identify its location on the drawing. Label any parts that remain illustrative rather than settled.
Follow the field pattern all the way to the border
Ask which fixed line sets the pattern direction: the garage face, a straight approach or another agreed reference. Have that direction marked on the drawing. Then follow it through the curved portion instead of assessing a small central patch where no edge is visible.
Request a layout that distinguishes whole units from proposed cut units where they meet the border. Ask the installer to identify awkward fragments or conspicuous interruptions and explain any proposed revision. Review changes to the pattern’s starting position, direction or border arrangement in the complete layout, including what they do to the opposite edge.
Do not make approval depend on a promise of no cuts or identical pieces around the curve. Ask instead to see the anticipated variation and understand the appearance you are accepting. If a rendering shows a perfectly repetitive edge, ask whether it represents the selected products and measured footprint or is only a general design image.
Resolve the straight connections before choosing the curve
At the garage, ask where the curved border becomes straight, where it ends and which line the adjacent field follows. Look at the proposed meeting point from the usual approach to the house. Mark any abrupt change you want revised before approving the overall drawing.
At a walkway junction, decide whether the driveway border continues across the opening, turns alongside the path or ends at an agreed transition. Have the contractor show the chosen option rather than leaving the crew to interpret a general instruction to match everything. Coordinating paver walkway installation with the driveway design makes this junction part of the same visual review.
Confirm which existing surfaces remain. If the path stays, ask to see its existing pattern beside the proposed driveway treatment. Compare the colors and directions together before accepting a sample that isolates the new materials from their surroundings.
Request a measured layout assessment from Perfect Pavers before settling on the curve. Share driveway photos and your preferred field and border samples, then ask for a site consultation to review the tightest turn and straight connections. Use that discussion to choose the layout option you want developed for approval.
Keep the footprint decision separate
Replacing pavers within the existing outline and moving that outline into a planted area are different proposed scopes. Put both outlines on the drawing if enlargement is being considered. Have the contractor assess the added area separately rather than treating a smoother curve as an incidental styling adjustment.
CMHA’s Construction of Interlocking Concrete Pavements places layout within a broader construction sequence that includes ground preparation, base work, edge restraints and paver placement. It also addresses establishing grades during layout. Appearance is one part of that planning.
Ask how each footprint option affects the retained landscape, finished levels, drainage review and work boundary. Confirm applicable approvals separately; accepting the appearance does not guarantee approval for an enlargement. For the broader assessment behind the proposal, our guide to what a driveway estimate site visit evaluates explains why measurements and site conditions belong ahead of a settled scope.
What our Pompano Beach project establishes
Our published Pompano Beach pool deck and driveway installation records work in both areas, including base reconstruction, a drainage slope and edge restraints. Those documented details show that the project addressed supporting work as well as the surface installation.
The project description does not document a curved border layout, cut sizes or the outcome of a curve review. Use it as evidence of work across multiple areas and attention to support. For your proposed curve, request its own measured drawing and sample instead of treating an unrelated portfolio image as the answer.
Record the layout you are actually approving
Keep a dated drawing and the reviewed sample photos together. Identify the selected field and border products, the pattern direction, the border route and the transitions. Make the approval specific enough that someone reading it later can distinguish the accepted arrangement from an earlier option.
Before installation, check that the record answers these questions:
- Which footprint and border line did you accept?
- Where was the tightest curve reviewed, and which sample represents it?
- How are whole and cut units shown at the border?
- Where do the garage and walkway transitions begin and end?
- Which design questions still need an answer, and who will resolve them?
Agree with the contractor how a later design change will be presented and accepted. Ask for its effect on the affected layout, scope and schedule before authorizing that work. Keep revised drawings clearly identified so the crew and homeowner are discussing the same version. These are review points to agree for your project, not a description of a standard contractual procedure.
A defined border layout gives professional driveway pavers installation a clear visual target alongside the assessed construction scope. Close the open design questions before the affected installation begins.
For your Broward project, request a consultation with Perfect Pavers for a measured layout assessment. Bring the current driveway outline, your preferred materials and the transitions you want reviewed. The next step to arrange is an on-site comparison of the curve, field direction and proposed cuts, followed by a layout for your review before you decide on installation.